How To Remove Shingles Properly (Step By Step Guide)

Written By: GreenTek Roofing & Solar | 7 Min Read

Removing shingles from your roof can seem like a daunting task, but it’s a necessary part of home maintenance and renovation. Whether you’re dealing with damaged shingles or preparing for a complete roof replacement, understanding the removal process can save you:
- Time
- Money
- Potential headaches
We are here to walk you through everything you need to know about how to remove shingles from your roof.
Key Takeaways
- Shingle removal is hard work but manageable with the right tools and strategy.
- DIY is possible for smaller, safe projects — but steep roofs, major damage, or time constraints call for professional help.
- Staying organized and pacing yourself makes the job more efficient and less overwhelming.
- Cleanup is just as important as removal — magnets and tarps keep nails and debris from becoming hazards.
- Proper prep ensures smoother installation of new shingles and reduces the risk of future leaks.
Understanding Shingles and Their Lifespan
Shingles come in various materials, including asphalt, wood, metal, and composite. Asphalt shingles are the most common due to their affordability and ease of installation. The lifespan of shingles can vary:
- Asphalt Shingles: 20-30 years
- Wood Shingles: 30-50 years
- Metal Shingles: 40-70 years
- Composite Shingles: 20-50 years
Factors like weather conditions, installation quality, and maintenance practices can affect these lifespans. Knowing when to replace your shingles can prevent more significant problems like roof leaks and structural damage.
Tools and Materials Needed
Before you begin the shingle removal process, gather the following tools and materials:
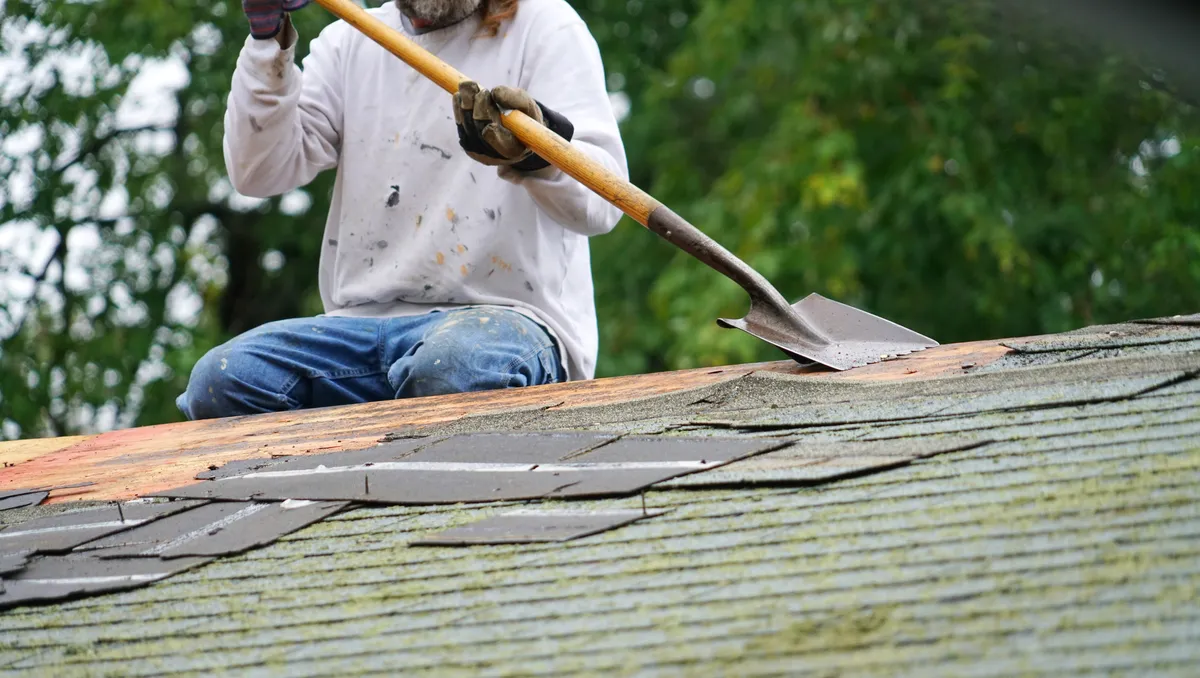
- Roofing shovel or shingle remover: Specialized tools designed to lift and remove shingles and nails.
- Hammer and pry bar: For removing stubborn nails and prying up shingles.
- Utility knife: To cut underlayment and shingles as needed.
- Ladder: Ensure it’s tall enough to safely reach your roof.
- Safety harness and ropes: For personal safety while working on the roof.
- Work gloves and safety goggles: To protect your hands and eyes from debris.
- Trash chute or tarps: For easy disposal of old shingles and debris.
Safety Precautions
Working on a roof can be dangerous, so it’s crucial to take safety precautions seriously:
- Check the weather: Avoid working on the roof during wet or windy conditions.
- Use proper footwear: Wear shoes with good traction to avoid slipping.
- Secure your ladder: Ensure it’s on a stable surface and properly anchored.
- Wear a safety harness: Always use a harness and secure it to a stable anchor point on the roof.
- Work with a partner: Having someone assist you can provide an extra layer of safety.
5 Step Guide to Removing Shingles

Time to get rid of your old roof shingles? Follow these steps for a successful roof tear off.
Step 1: Prepare the Work Area
Before you start removing shingles, prepare your work area:
- Clear the ground: Remove any obstacles around your home’s perimeter where debris might fall.
- Set up a trash chute or tarps: Lay tarps around the house to collect debris, or use a trash chute to direct debris into a dumpster.
Step 2: Remove Ridge Caps
Ridge caps are the shingles that cover the peak of the roof. Begin by removing these since they overlap the top row of shingles:
- Use a roofing shovel or pry bar to lift the ridge caps, starting at one end and working your way across.
- Remove any nails that hold the ridge caps in place.
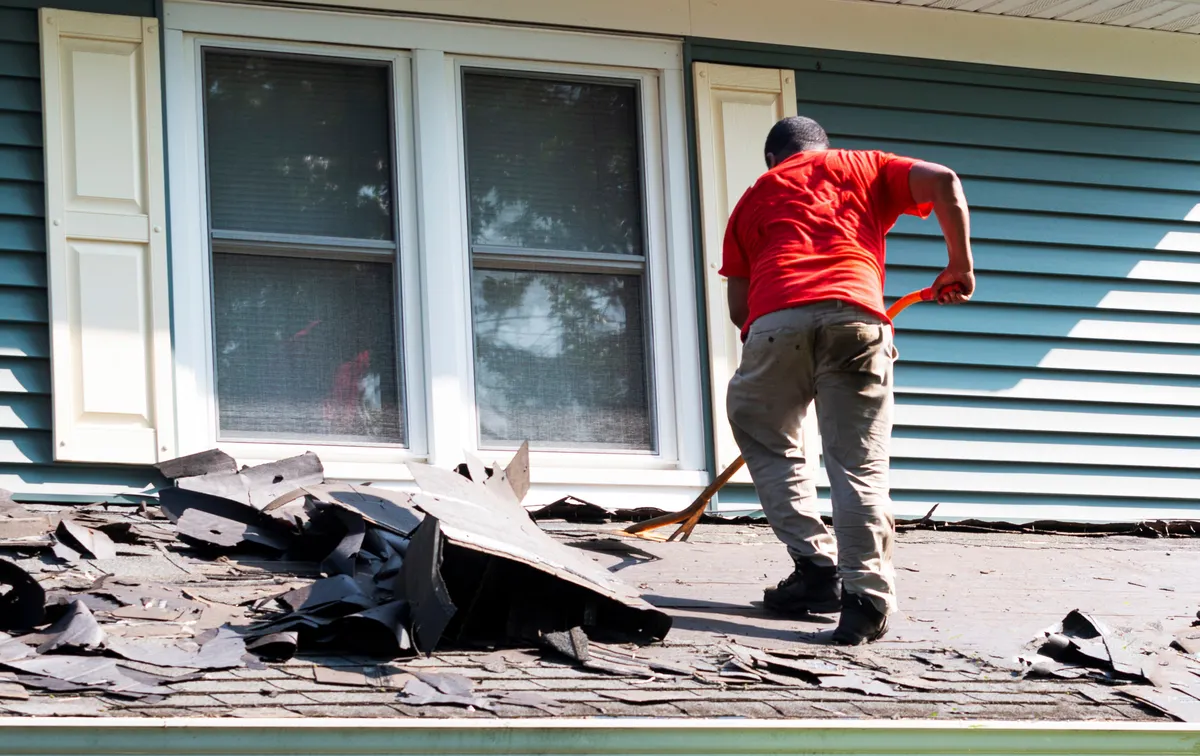
Step 3: Start Removing Shingles
With the ridge caps removed, you can start removing the shingles:
- Begin at the peak of the roof and work your way down. This ensures that you’re not walking on exposed decking.
- Slide the roofing shovel under the shingles and lift them up, prying the nails out at the same time.
- Continue lifting and prying shingles until you reach the edge of the roof.
Step 4: Deal with Nails and Underlayment
Once the shingles are removed, you’ll need to address the nails and underlayment:
- Remove remaining nails using a hammer or pry bar.
- Cut and remove the underlayment (felt paper or synthetic material) with a utility knife.
- Inspect for any damage to the decking and repair as needed before proceeding with new shingles.
Step 5: Inspect the Roof Decking
After all the shingles and underlayment are removed, inspect the roof decking for any signs of damage or rot:
- Replace any damaged decking to ensure a solid foundation for your new roof.
- Check for nails or debris and remove them to create a clean surface.
Post-Removal Cleanup
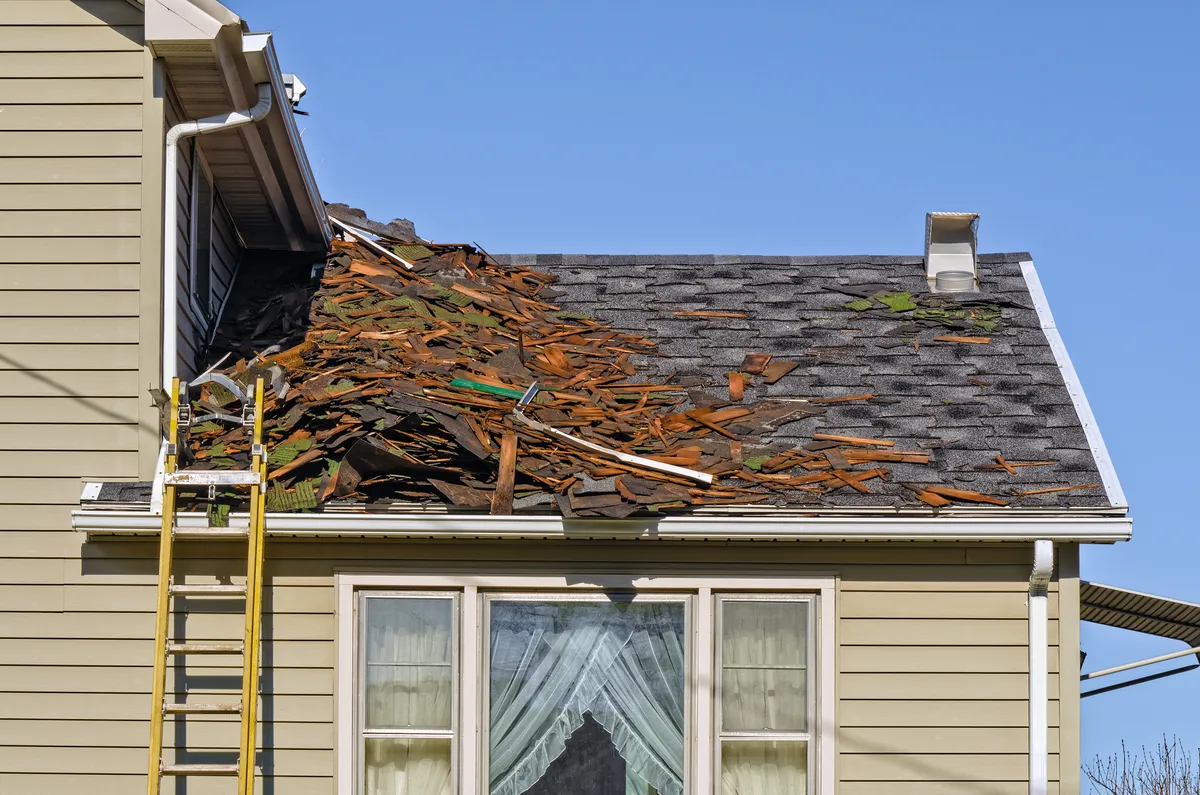
Proper cleanup is essential after removing shingles:
- Collect all debris from the roof and surrounding areas.
- Dispose of old shingles and materials in a dumpster or designated disposal site.
- Sweep the roof to ensure no nails or small debris are left behind.
Pro Tips for DIY Enthusiasts
When it comes to removing shingles, it’s important to approach the task with care and strategy. Roofing projects can be rewarding but also exhausting, and safety should always be your top priority. These tips will help you stay efficient while reducing risk.
Pace Yourself
Removing shingles is physically demanding work.
- Take regular breaks to avoid fatigue and dehydration.
- Drink water often, especially in Florida’s heat.
- Work during cooler parts of the day if possible.
- Don’t try to complete the entire roof in one session — break it into manageable chunks.
Stay Organized
Staying systematic helps you work faster and more safely.
- Remove shingles in sections, such as one row or one side at a time.
- Keep tools and debris organized so nothing gets misplaced.
- Use a tarp to catch falling shingles and nails for easier cleanup.
- Mark your progress to avoid overlooking hidden areas.
Use a Magnet
Nails and fasteners scatter easily and can become dangerous.
- Sweep the area with a rolling magnetic tool after each section.
- Check flower beds, driveways, and walkways for stray nails.
- Dispose of nails properly to prevent flat tires or injuries.
- A clean workspace makes it easier to prep for new shingles.
When to Call a Professional
While DIY shingle removal can be done by some homeowners, there are times when it’s best — and safest — to let the pros handle it.
Steep or High Roofs
Roofs with a steep pitch or multiple stories create major safety hazards.
- Professionals use harnesses, scaffolding, and safety equipment.
- They are trained to work on dangerous angles without risking injury.
- A fall from even a single story can result in serious harm.
Extensive Damage
Hidden roof issues may be beyond a DIY fix.
- Signs include soft spots, sagging decking, or structural cracks.
- Professionals can assess the damage and recommend proper repairs.
- Attempting fixes without expertise may cause leaks or bigger problems later.
- In many cases, insurance claims are easier to support when pros document the damage.
Time Constraints
Sometimes speed matters more than savings.
- Professional crews can remove shingles in a fraction of the time.
- They often have teams working simultaneously, cutting project time in half.
- A quick turnaround helps if storms are in the forecast.
- Less downtime means less exposure to leaks and weather damage.
In summary, while the DIY route can be appealing, these factors highlight the importance of professional help in certain situations. Making the right choice can ensure the safety of your home and provide peace of mind knowing the job is done correctly.
A Roofing Tear Off From A Reliable Team
Removing shingles from your roof is a labor-intensive but rewarding task. That being said, it’s important to put your safety and the safety of your home first. When in doubt, always rely on the professional roofers for your shingle removal project.
Greentek Roofing & Solar is here to help you remove your existing shingles and install a new, sturdy roof. Contact us today to get a free estimate for your roofing project!

Step Into
The Future of Roofing
