
Essential Fish Hawk Standing Seam Metal Roof Installation Tips

Written By: GreenTek Roofing & Solar | 8 Min Read

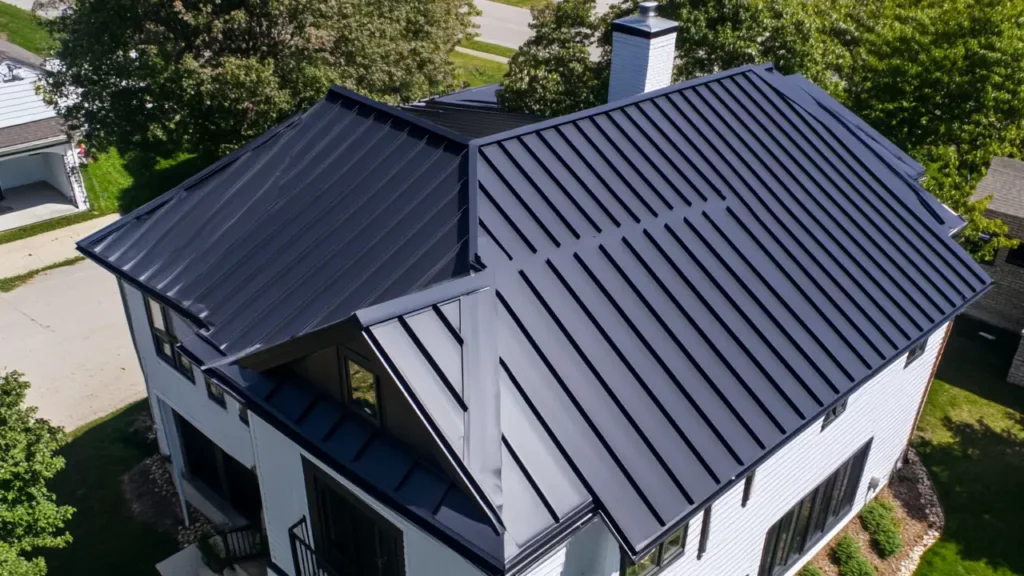
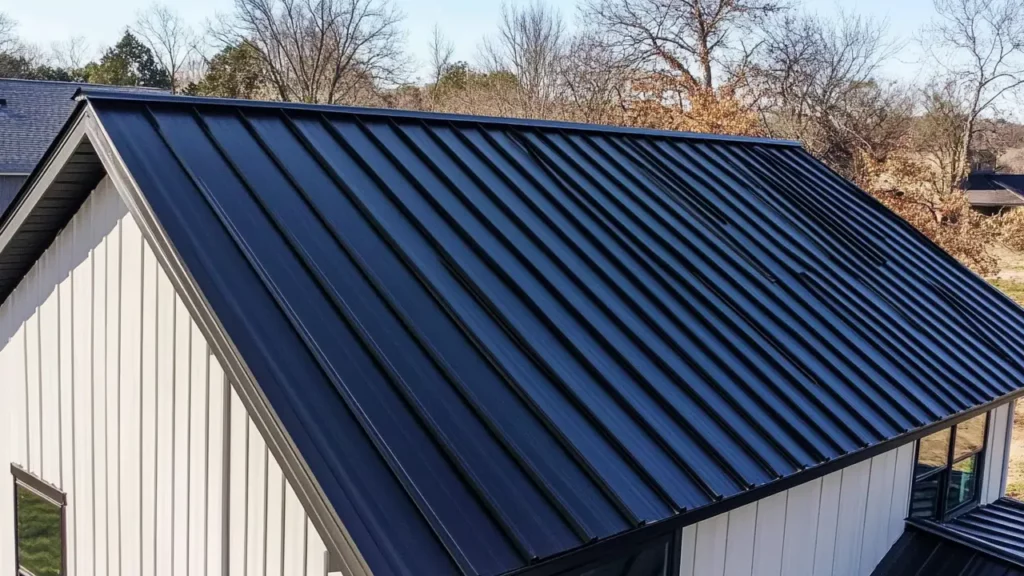
A standing seam metal roof is a fantastic choice for homeowners in Fish Hawk, FL, offering durability and a modern look. At GreenTek Roofing & Solar, we specialize in high-quality standing seam metal roofing that conceals fasteners, reducing the risk of leaks and maintenance. If you’re considering this upgrade, understanding the installation process is key. Our team at GreenTek Roofing & Solar will walk you through the basics of installing a standing seam roof, ensuring your home gets the protection and style it deserves.
Essential Tools for Standing Seam Metal Roof Installation
A successful standing seam metal roof installation begins with the right set of tools and high-quality materials. Essential tools include a metal brake for shaping panels, a drill for fasteners, and a circular saw for precise cuts. Selecting premium materials from trusted brands like GAF, TAMKO, and Novatik ensures durability and performance. Additionally, incorporating synthetic underlayment and proper flashing materials can enhance the roofing structure, providing an effective water shield against leaks and prolonging the lifespan of the roof for homeowners in Fish Hawk.
Recommended Tools for Seamless Roofing
To achieve a professional finish on your standing seam metal roof, you’ll need the right tools. These are designed for precise metalwork and proper panel installation without damage, streamlining the process and preventing mistakes like misalignment or exposed fasteners that can cause leaks.
Essential tools include:
- Metal snips for clean cuts
- Hand seamers to lock panels
- Drill or screw gun
- Chalk line and measuring tape
- Safety harness and non-slip footwear
Using these tools correctly ensures your roof is both attractive and durable for years to come.
High-Quality Materials from GAF, TAMKO, and Novatik
Utilizing high-quality materials is crucial for effective standing seam metal roof installation. GAF, TAMKO, and Novatik offer exceptional options that enhance the durability and performance of your roofing. GAF’s synthetic underlayment provides a reliable water shield beneath the panels, while TAMKO focuses on long-lasting protective features designed to prevent leaks. Novatik’s standing seam panels are engineered for a seamless fit, ensuring optimal structural integrity and aesthetic appeal. Homeowners can trust these brands to elevate their roofing systems, ultimately adding value to their homes.
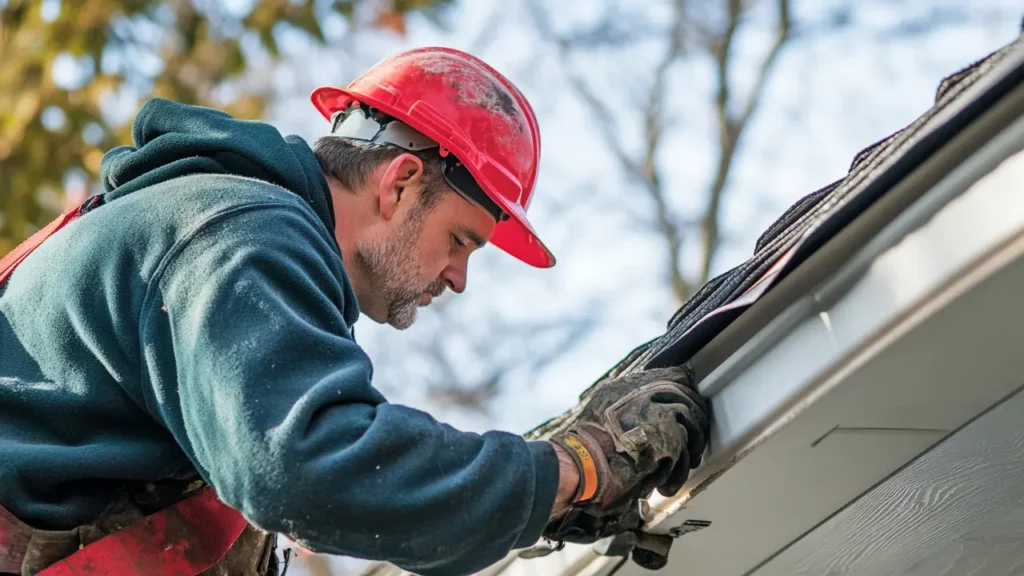
Preparing Your Fish Hawk Roof Surface
A thorough preparation of the roof surface is crucial for successful standing seam metal roof installation. Begin by safely removing old roofing materials, such as shingles or tiles, ensuring that the underlying decking is intact. Next, clean the surface meticulously to eliminate dirt and debris that could compromise the adhesion of the new underlayment. Checking the roof pitch is equally important, as it aids in the proper layout of metal panels and the effective application of the synthetic underlayment, ensuring long-lasting performance.
Removal of Old Roofing and Surface Cleaning
The first step is to remove all old roofing materials—shingles, metal panels, and underlayment—to expose the decking for inspection. This is crucial for spotting hidden issues like rot or water damage, especially near chimneys, valleys, and eaves. Addressing problems now prevents future complications and ensures a solid base for your new standing seam roof.
The process involves:
- Removing old shingles or metal panels
- Taking out underlayment
- Inspecting plywood or OSB decking for rot
- Replacing damaged sections
Once repairs are complete and the surface is clean, your roof deck is ready for installation. A clean deck ensures a high-quality, long-lasting roof.
Checking Pitch and Applying Underlayment
After cleaning and inspecting the roof deck, verify the pitch. Standing seam metal roofs require at least a 3/12 pitch for proper drainage; steeper pitches improve runoff but require extra safety precautions. Install underlayment next. Apply self-adhering water shield to eaves, valleys, and around penetrations for added leak protection. Then roll out synthetic underlayment over the entire deck:
- Apply ice and water shield to vulnerable areas first.
- Roll synthetic underlayment horizontally from bottom to top.
- Overlap each row by at least 6 inches.
- Fasten with staples or cap nails.
This underlayment layer is crucial for preventing leaks and protecting against moisture.
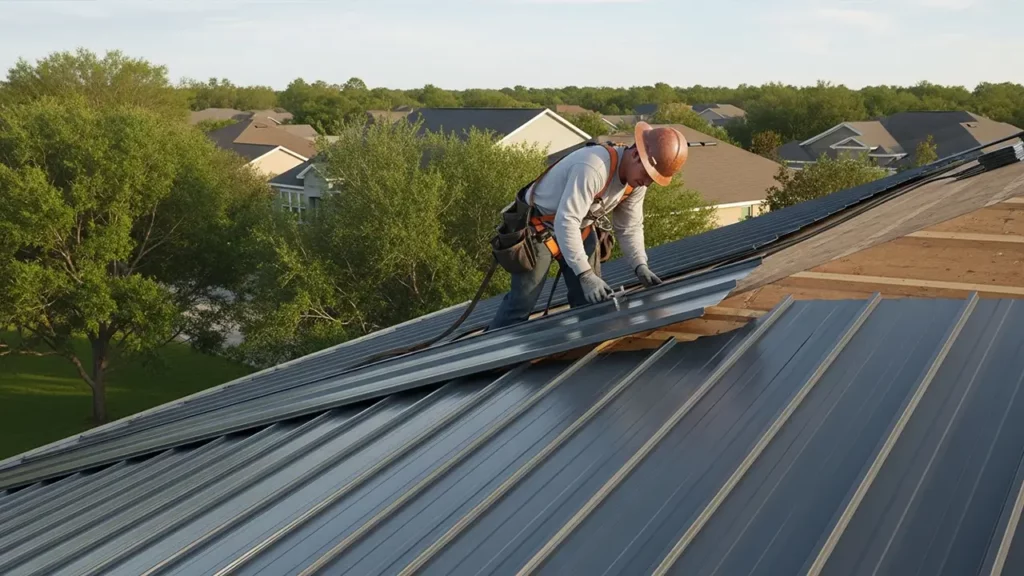
Step-by-Step Guide to Installing Standing Seam Metal Panels
With the roof deck ready, installation of the standing seam roof begins. Careful panel layout planning ensures symmetry and optimal performance. The first metal panel sets the alignment for the entire roof, making precision essential. Key steps include installing starter trim, placing and securing each metal panel, and confirming all fasteners are properly installed. Each panel interlocks for a weather-tight seal. Next, we’ll cover initial trim installation and panel alignment.
Installing Lock Strips, Drip Edge, and Starter Trim
Installing trim is the first step in assembling a standing seam roof. Trim frames the roof and manages water. Start by attaching the drip edge along the eaves before laying underlayment to guide water into gutters. Next, install a lock strip or starter trim at the roof edges for the first metal panel to hook onto—crucial for preventing wind uplift, especially in windy areas like Fish Hawk.
General steps:
- Attach drip edge along eaves.
- Install rake trim over underlayment at gable ends.
- Position lock strip to secure panel edges.
- Overlap and seal all trim properly.
Well-installed trim gives your standing seam roof a clean look and strong weather resistance.
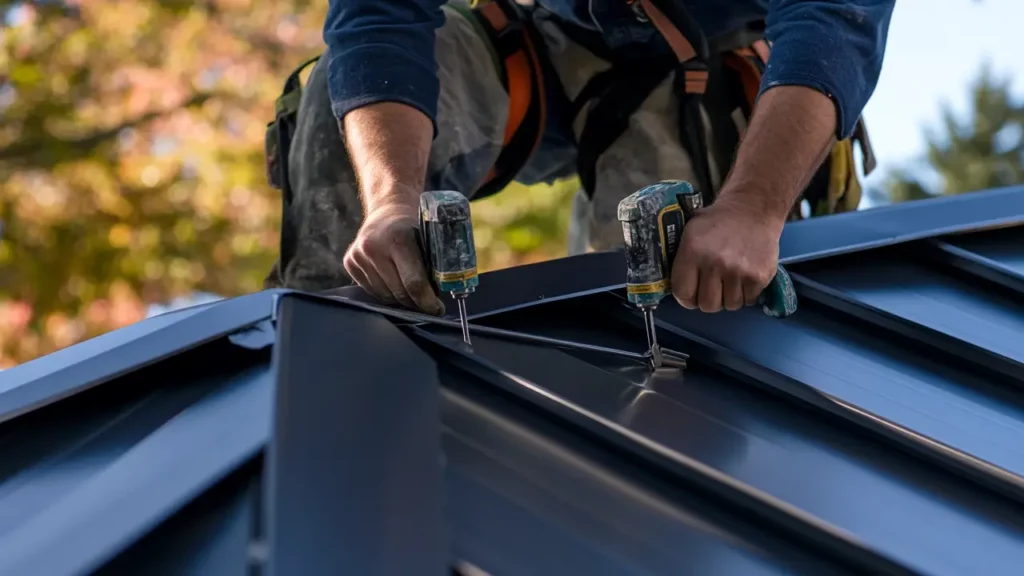
Aligning and Securing Panels for Maximum Performance
Achieving optimal performance in standing seam metal roof installation hinges on precise alignment and secure fastening. Position the first panel correctly, ensuring it aligns perfectly with the eaves and the lock strips maximize the benefits of a standing seam roof. Fasteners should penetrate securely into the roof deck, avoiding exposed fasteners to mitigate leaks. Regularly check panel layout throughout installation to maintain consistent spacing, facilitating effective water drainage and enhancing the longevity of the metal roofing panels.
Handling Flashing, Edges, and Finishing Details
The final steps of a standing seam roof installation involve the finishing details that seal and protect the entire system. Proper handling of flashing, edges, and the ridge cap is crucial for preventing water damage. These elements cover the seams and gaps where different roof planes meet or where the roof meets a wall. These finishing details are what separates a good metal roofing job from a great one. Without meticulous attention to these areas, your roof is vulnerable to leaks, no matter how well the panels were installed. Let’s examine the techniques for flashing and applying trim for a watertight finish.
Proper Flashing Techniques for Fish Hawk Roofs
Flashing directs water away from vulnerable roof areas like valleys, chimneys, and skylights. Proper installation ensures each metal piece overlaps so water flows over the flashing and off the roof—preventing leaks. Before installing panels in these areas, both flashing and an extra water shield layer are applied. Flashing goes under panels on the upslope side and over them on the downslope side—a key principle for leak prevention.
Proper flashing technique includes:
- Installing valley flashing before roof panels
- Extending flashing well beyond protected areas
- Sealing joints with butyl tape
- Overlapping pieces to direct water downward
These techniques keep your Fish Hawk home watertight for decades.
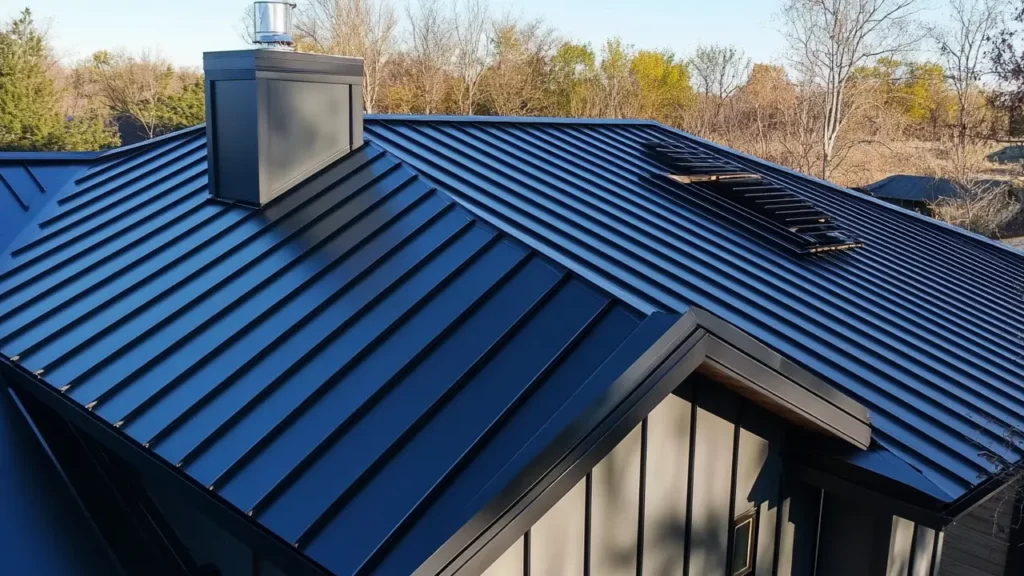
Ridge Cap, Wall, and Rake Trim Application
The final step in standing seam roofing is applying the trim. The ridge cap covers the peak, sealing the gap where panels meet and, if vented, allows attic heat to escape. Rake trim lines the gable ends for a clean edge and panel protection. Wall flashing seals joints where the roof meets vertical walls. Each piece should be cut and fitted precisely for a weatherproof finish.
To complete installation:
- Install the ridge cap over panel ends.
- Attach rake trim to gable edges.
- Apply wall flashing at roof-to-wall joints.
These finishing touches ensure your standing seam roof is durable and visually appealing.
Connect with Us
In summary, installing a standing seam metal roof in Fish Hawk, FL, is a major investment that demands careful planning and skilled execution. Using top-quality materials from trusted brands like GAF, TAMKO, and Novatik ensures durability and curb appeal. Proper surface preparation, precise installation, and attention to detail are key for the best results. As a GAF Master Elite Certified Contractor with an A+ BBB rating, GreenTek Roofing & Solar delivers exceptional work. If you’re considering a new roof, request a quote for your commercial project today.
Frequently Asked Questions
What is the best way to mud a high ceiling?
While our expertise is in roofing, mudding a high ceiling typically requires scaffolding for safety and stability. This project is unrelated to installing a standing seam roof, which involves securing panels over underlayment on the roof deck, a very different process from finishing interior drywall.
How do you build an outdoor cat house?
Building an outdoor cat house often involves a simple wood frame with plywood for the floor and walls. You could use a small piece of metal roofing for the top to provide excellent weather protection, similar to how metal protects a home’s decking.
Read our blog: UV Radiation Effects on Asphalt Roofing Materials in Fish Hawk, FL
Step Into
The Future of Roofing
